

Most remodeling dreams begin with the visible parts: the countertop color, the cabinet style, the tile pattern. But experienced builders know that a project succeeds or fails on something far less glamorous, which is the order in which the work happens. Put the flooring in before the painting, and you will be taping and patching. Order cabinets before the walls are measured, and you may be waiting weeks for corrections. Understanding the logical sequence of a remodel helps you plan a realistic schedule, avoid costly rework, and ask better questions of the professionals you hire. A dependable Paola remodeling contractor will build the plan around this sequence from the very first meeting.
Rather than walking through rooms or styles, let’s follow the work itself, phase by phase, from the first sketch to the final walkthrough.
Phase One: Define the Goal Before the Drawings
Every project starts with a clear answer to one question: what problem are you solving? A kitchen that feels cramped, a bathroom that never dries, or a basement that sits unused each call for different solutions. Write down your must-haves, nice-to-haves, and budget range before you collect any quotes. This short list becomes the compass that keeps decisions consistent when choices start piling up.
Phase Two: Design, Measurements, and Selections
Once the goal is clear, the design stage turns ideas into plans. This is where layouts are drawn, measurements are confirmed, and major materials are chosen. Selections matter more than most people expect, because lead times can stretch for cabinets, windows, custom tile, and specialty fixtures. Choosing early keeps the schedule from stalling halfway through.
Questions worth settling in this phase:
- Are walls, plumbing, or electrical lines being moved?
- Which items are special order, and how long will they take?
- Who is responsible for ordering and receiving materials?
- What allowances are built into the estimate for items you have not picked yet?
Phase Three: Permits and Paperwork
Structural changes, electrical work, and plumbing alterations often require permits, and requirements vary by city and county. A good contractor knows what is needed locally and handles the paperwork, but you should still ask who is responsible and how inspections will be scheduled. Skipping permits can cause problems when you sell the home or file an insurance claim. For a general overview of the planning and safety side of home improvement, the U.S. Consumer Product Safety Commission offers homeowner resources, including guidance on hazards that can come up during renovation.
Phase Four: Demolition and Discovery
Demolition is the most dramatic day of the project, and also the most revealing. Once walls and floors are opened, the real condition of the house becomes visible. Hidden water damage, outdated wiring, or uneven framing can appear that no one could have predicted. This is why a contingency fund of roughly ten to twenty percent is commonly recommended for older homes. Good communication matters most here, since a contractor should show you what was found and explain the options before any added work begins.
Phase Five: Structure, Then Systems
After demolition comes the work you will never see once the project is finished, and it happens in a specific order:
- Framing and structural changes, including new openings, beams, and wall adjustments
- Rough plumbing, such as supply and drain lines
- Rough electrical, including wiring, boxes, and lighting locations
- HVAC adjustments, if ducts or vents are being moved
- Inspections, which must pass before walls are closed
Closing walls before inspection is a common cause of delays, so a careful schedule protects you here.
Phase Six: Closing In and Surfaces
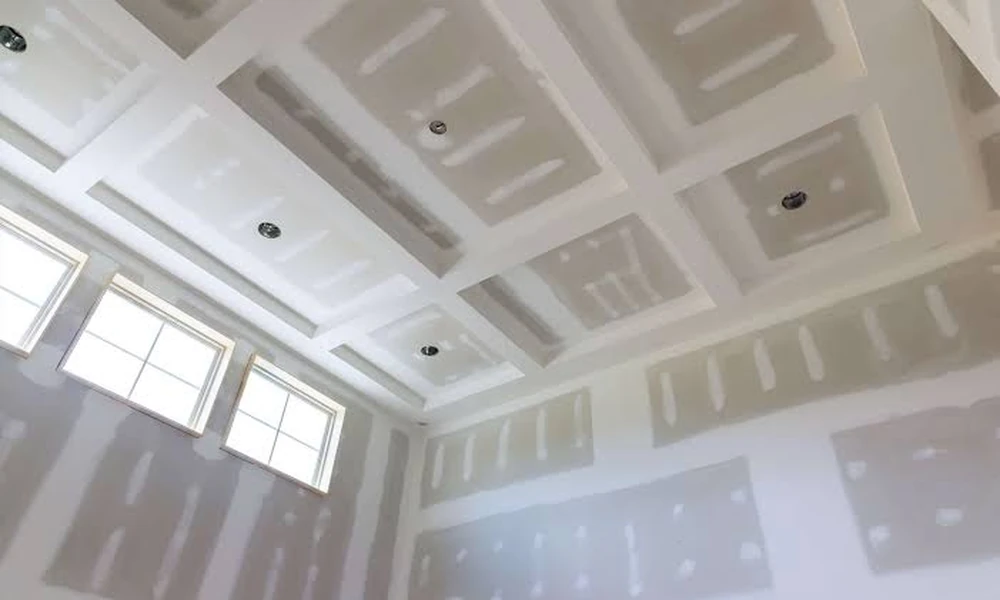
With the systems approved, the room starts looking like a room again. Insulation goes in, drywall is hung, taped, and finished, and the first coats of primer and paint follow. Dust is at its peak during this phase, so ask how the crew will contain it, especially if you are living in the house during the work.
Phase Seven: Cabinets, Counters, and Finishes
Now the visible choices come to life. Cabinets are installed, countertops are measured and templated, and flooring and tile are laid. The order here is deliberate. Countertops are templated only after cabinets are secure, and backsplash goes in after counters are set. Trim, paint touch-ups, and hardware come near the end, so surfaces are not scratched by heavier work.
Phase Eight: Fixtures, Punch List, and Walkthrough
The final stage handles the details that make a project feel finished: plumbing fixtures, light fixtures, outlet covers, appliances, and fine adjustments. A punch list is a written record of small items still to be corrected, such as a sticking door or a paint scuff. Walk the space with your contractor, note everything you see, and agree on a timeline to complete it. Keep warranty information and product manuals in one folder for later.
The Sequence at a Glance
| Phase | Main Focus | Why It Comes Here |
|---|---|---|
| Goals and design | Scope, layout, selections | Prevents mid-project changes |
| Permits | Approvals and scheduling | Avoids legal and insurance issues |
| Demolition | Opening the space | Reveals hidden conditions |
| Rough-in | Framing, plumbing, electrical | Must pass inspection before closing walls |
| Surfaces | Drywall and paint | Prepares for finish installation |
| Finishes | Cabinets, counters, flooring | Protects fragile materials from earlier work |
| Punch list | Final corrections | Confirms everything is complete |
Common Sequencing Mistakes to Avoid
- Ordering finishes before confirming measurements
- Changing the design after framing has started
- Scheduling flooring before painting and trim work are complete
- Forgetting to plan temporary kitchen or bathroom access during construction
- Skipping a weekly check-in with the project lead
Final Thoughts
A remodel is less like a single project and more like a chain of dependent steps, each one setting up the next. When the order is planned well, the work moves smoothly, surprises stay manageable, and the final result looks better because nothing had to be redone. Before you commit to any project, ask how the schedule is sequenced, what could change it, and how you will be kept informed along the way. A clear answer is usually a good sign that the project is in capable hands.
